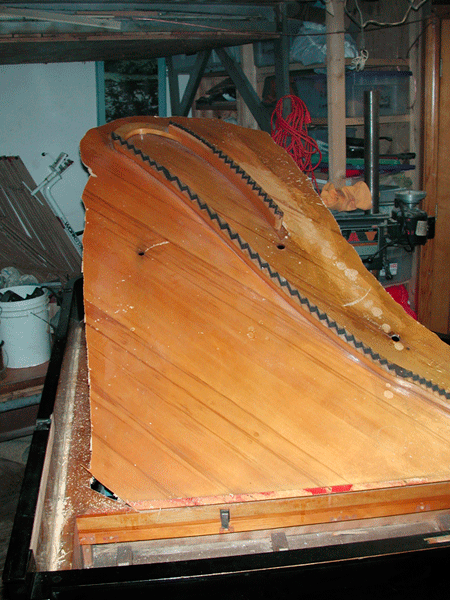
An old soundboard can have a variety of defects including bridge roll, cracks, humidity damage and simply loss of crown and tone. Here a soundboard is viewed from the bottom.
This is nasty and the cracks are big and do wander.
Before removal of the soundboard it is necessary to build a jig so it is possible to find the correct location of both the bridges on the board and the board in the piano.
Then the soundboard can be safely removed.
.
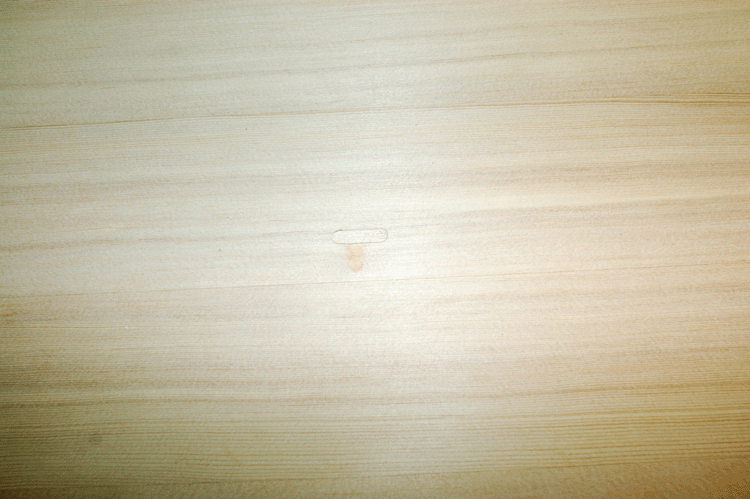
A new soundboard panel must be selected carefully and perfectly made. Here you see a very good one: Steinway quality.
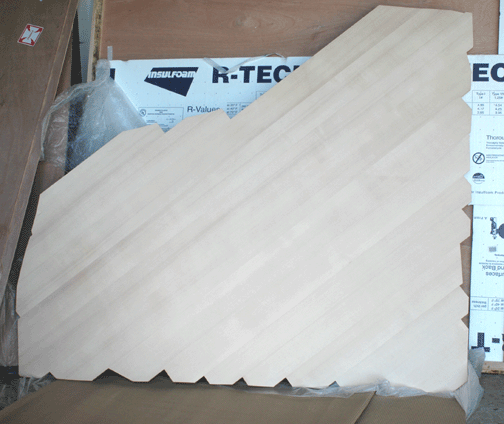
Below is a "reject" and a good example of a bad sample. The wandering grain, discoloration and repairs are sickening.
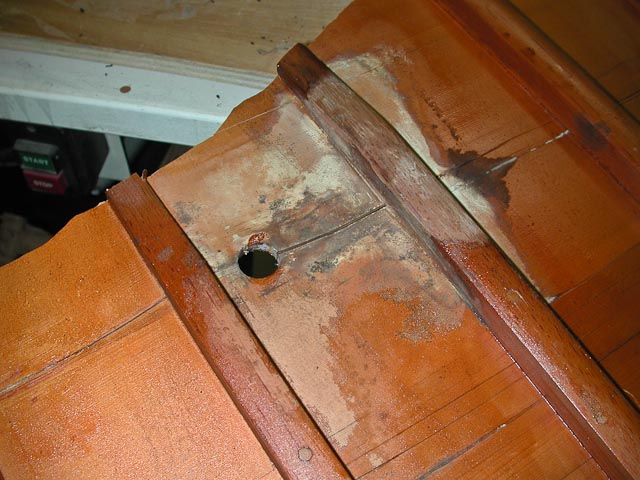
The rim must be modified as typically, the ribs going into the side of the case are too thick and so the rib slots must be shimmed and the ribs made thinner for the slots. On a Mason & Hamlin the slots must also be extended to the inner rim to improve tone communication.
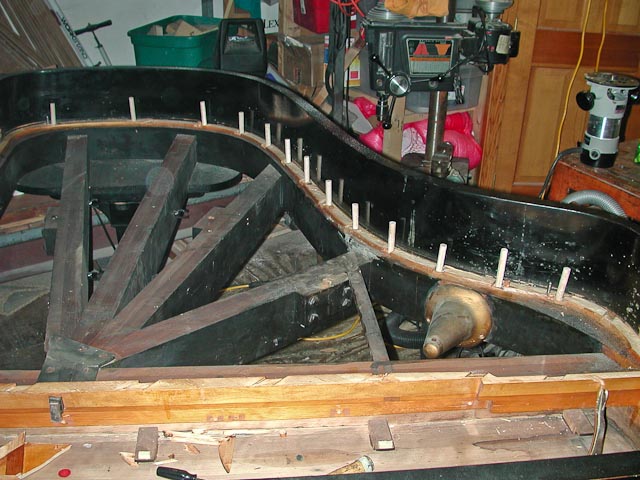
Below you see the slot at the bottom is enlarged all the way to the inner rim.
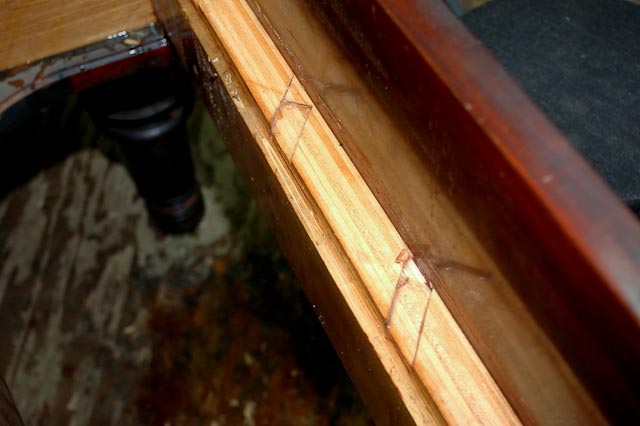
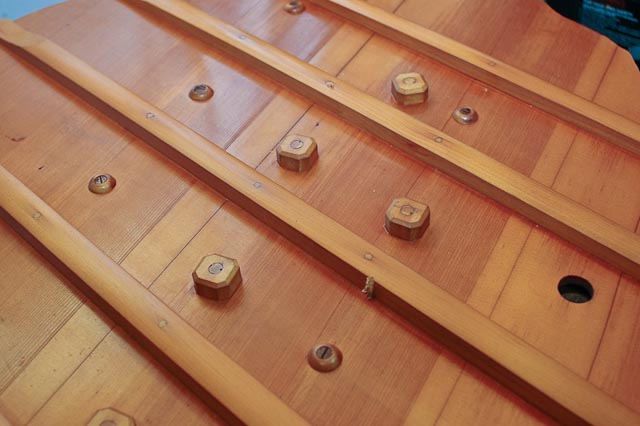
Below you can see little shims glued in the slots as the ribs were too thick and not characteristic of the best made Steinway ribs. Also, the rim itself is tapered to better accommodates the curvature of the new soundboard. It is ALL in the details and this detail is crucial.
![]()
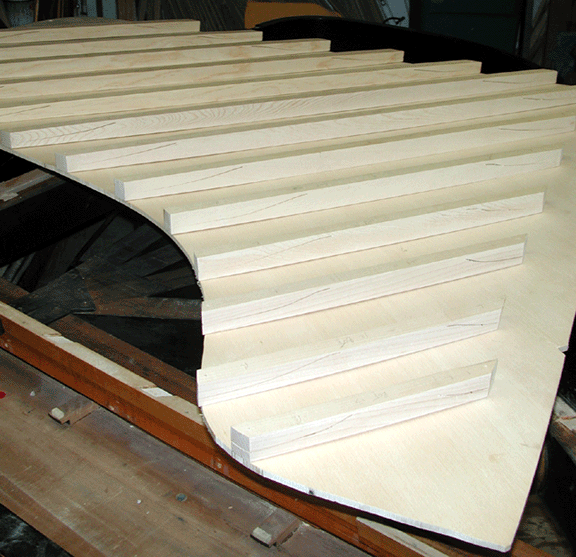
The ribs are cut and the grain direction carefully alternated so the sound goes left to right on one rib and then right to left on the next rib and so on. The tone travels down the ribs. The tone going all in one direction is undesired, so the grain must alternate.
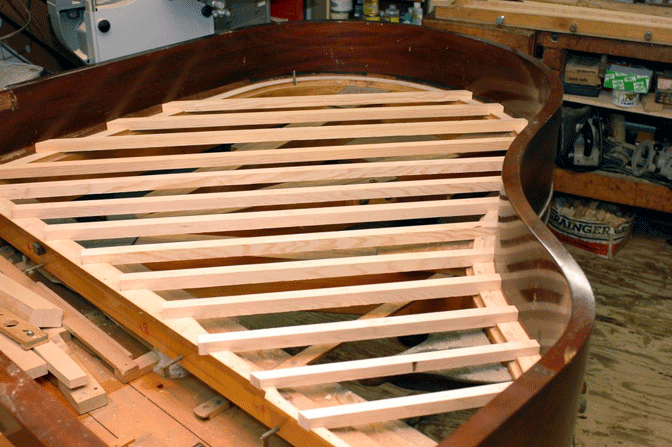
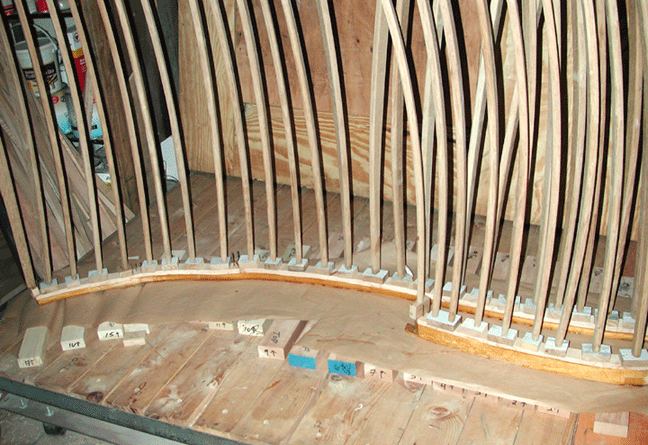
The ribs are then put in a jig and the curvature of the new soundboard crown is actually cut into the ribs. Crown of the board is created by doing this combined with the curvature of the belly press and "moisture crowning".
"Moisture crowning" is important. The soundboard and ribs are dried down so when the ribs are glued on the board, all three elements combine to create ideal crown.
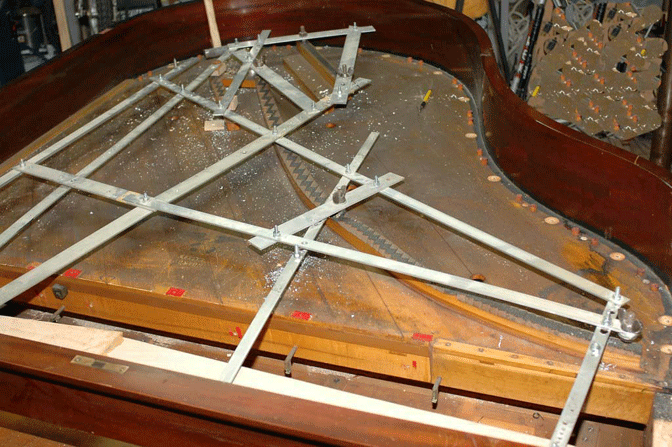
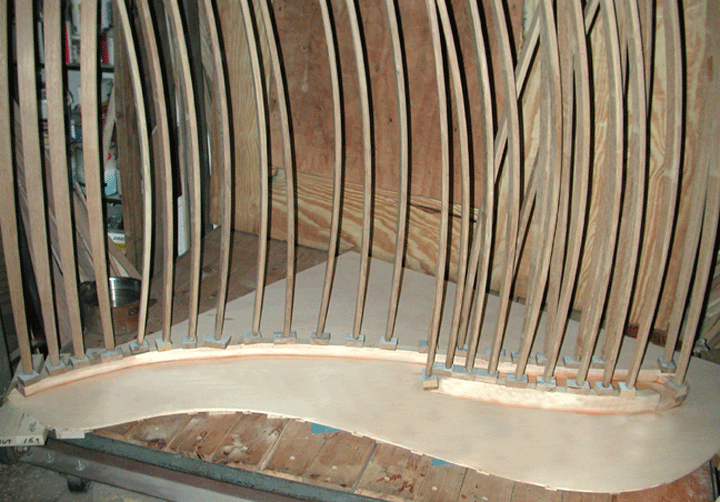
There is an unbelievable amount of pressure generated by the bent "go-bars" that are pressing against the new ribs on the bottom of the new soundboard. Once again, the belly press is not flat. It is specially concave to match the desired crown.
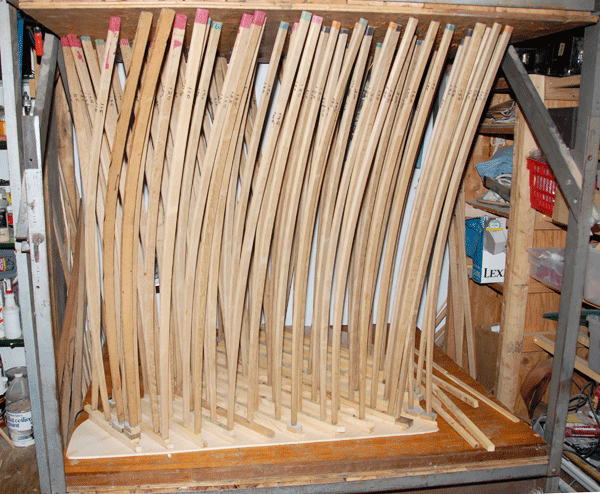
After allowing the glue to dry and moisture crowning to occur, the bars can be removed.
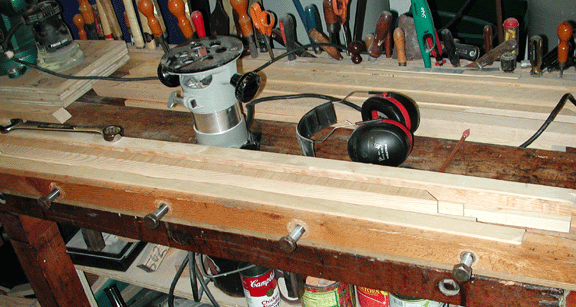
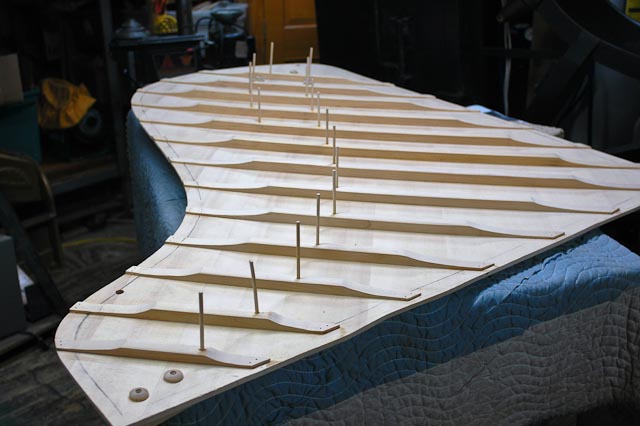
The ribs are now feathered and shaped.
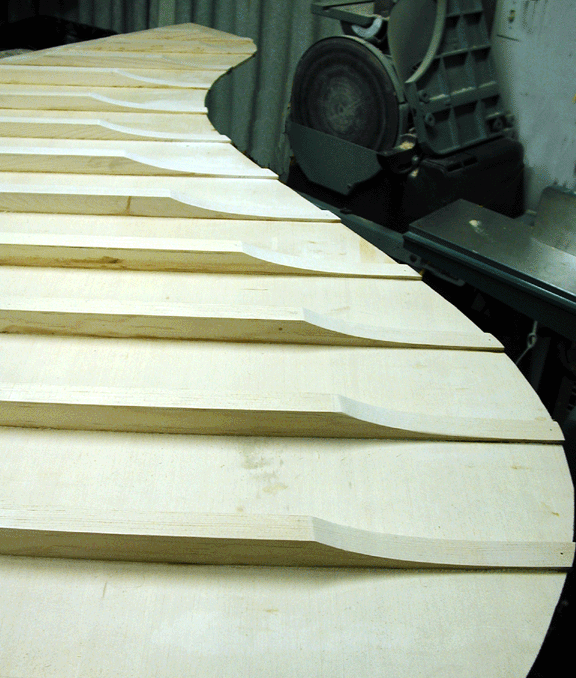
Hmmm...I remember now...cutting back the feather of the three ribs below...considerably more. But it was "picture time" so the picture got taken.
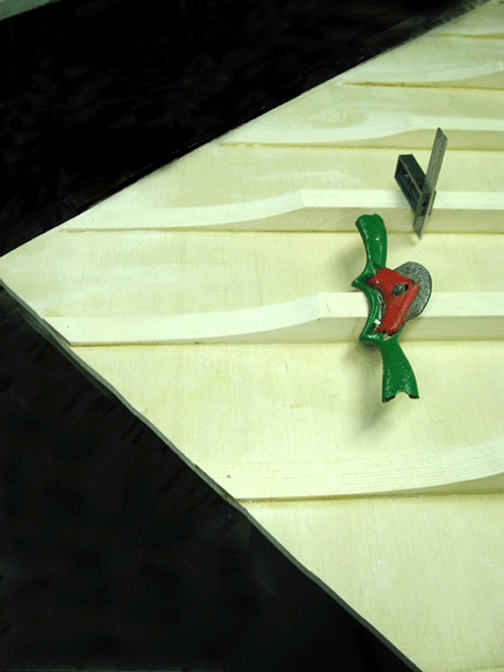
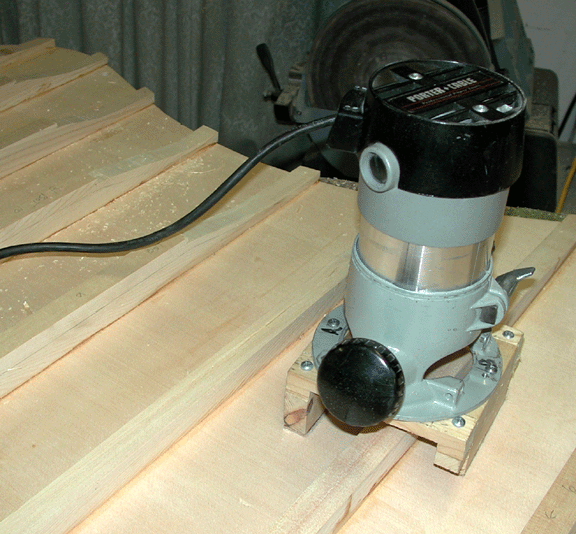
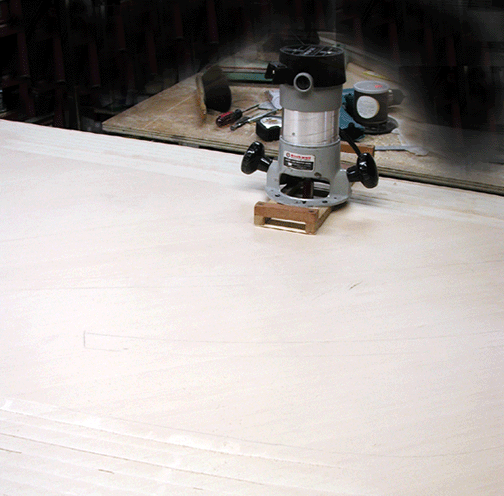
In order to make the board move freely, the board is turned over and material removed. This is how you make the soundboard "diaphragmatic". It is similar to taking off wood from a violin top in order to create flexibility of the top. It helps the new soundboard to "move" and create good tone. A special jig is required that allows the router bit to move consistently and make depth changes. It is very important not to taper the soundboard near the treble. Doing so causes a severe loss of tone on the high treble notes.
After sanding out all those marks, the soundboard can be put back in the piano and the location jig used to determine the placement of the bridges.

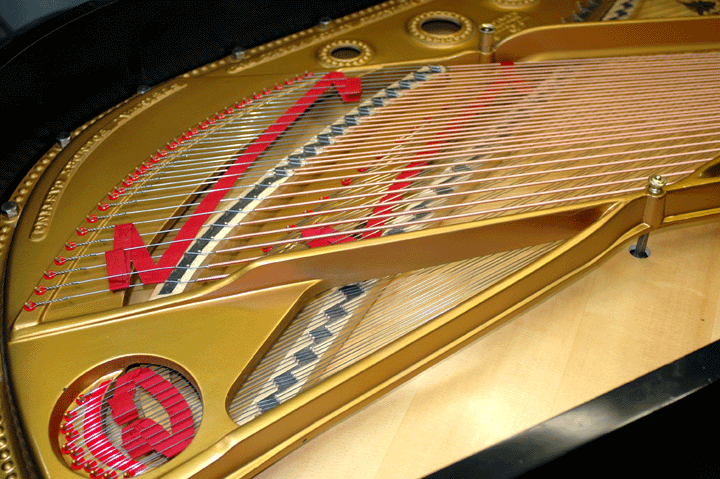
The new bridge caps are glued on.
Then the bridges themselves are glued to the new soundboard. "Duck Boards" are inserted between the ribs to provide support matching the crown of the piano. Notice the belly board is removed for this procedure.
After the glue dries the bars are removed and the soundboard turned upside down and the bridges are secured.
.
Time to start sanding all those rough edges. This is misery and I notice many new piano manufactures do not do a very good job sanding and refinishing the bottom of the soundboard.
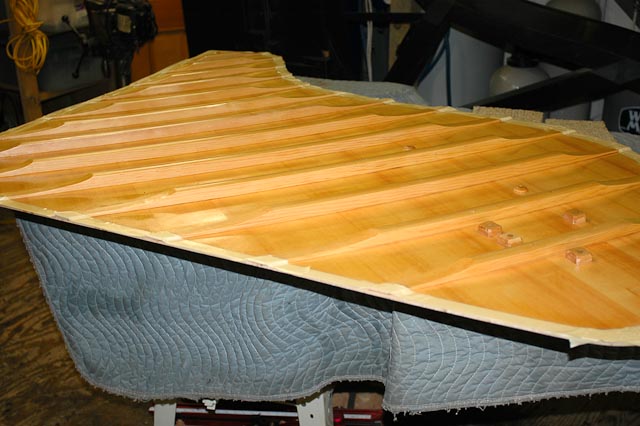
After refinishing the soundboard is placed back in the hot box and dried down to 5% moisture content in the wood. This is very important to do before gluing the soundboard into the piano as "moisture crowing" once again comes into play. If you don't pay attention to this, you lose crown and tone.
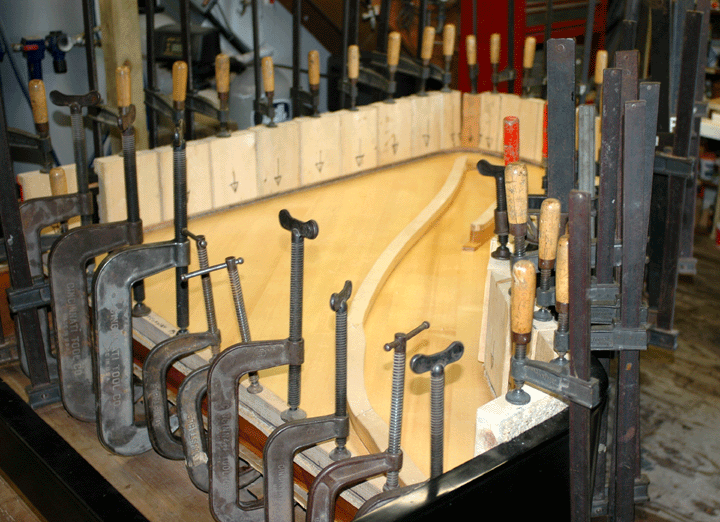
Gluing the finished board into the rim requires many clamps and fast work as the glue used has a 30 minute time frame. It is important to use a glue that dries very hard. Tight Bond style glues are to be strictly avoided as they do not dry hard. The harder the dried glue, the better the tone transmission. Each of those clamps must deliver 225 pounds of pressure. So after getting them all on, you have to go back over them and tighten them all yet again. Then stand back and watch the board as it takes on its "moisture crown". You can actually see it. It should be noted that the humidity in the shop has to be strictly controlled. You have to dry down the shop, glue in the board and then raise the humidity to 40%.
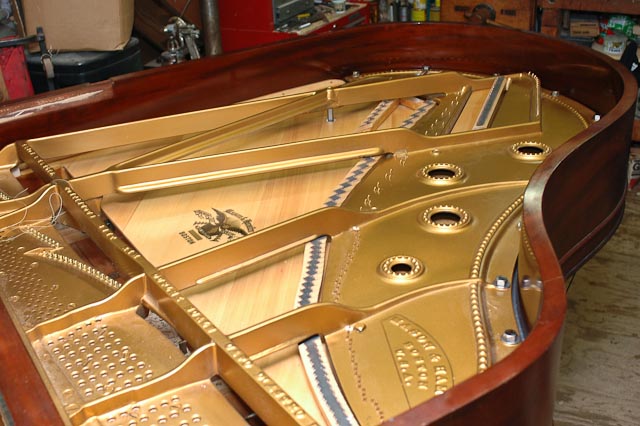
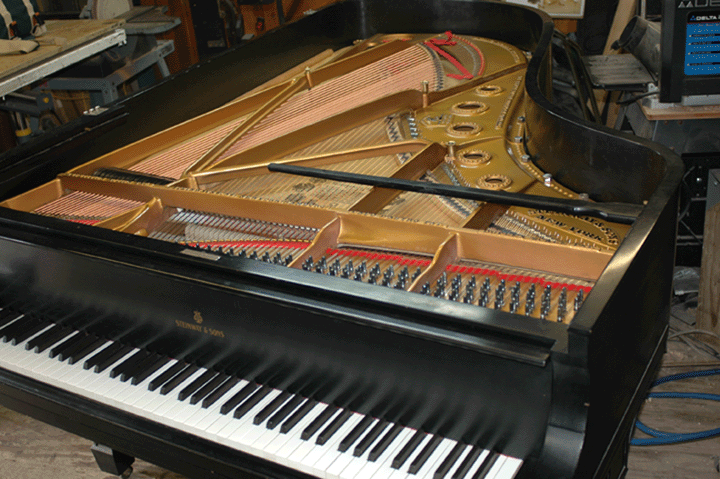
After drying for 24 hours, the clamps can be removed and the new decal is applied along with finish coats. The bridges are done (several days for this, so the shop had better be humidity controlled) and then the plate can be lowered on. Plate suspension issues and other details are too cumbersome to admit here.
.
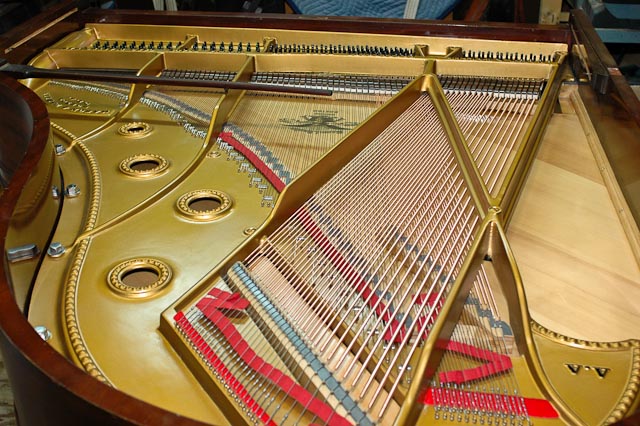
Then wire and dampers...

Then the new action is built and ivory keys installed and after a fantastic amount of work the end result is achieved.
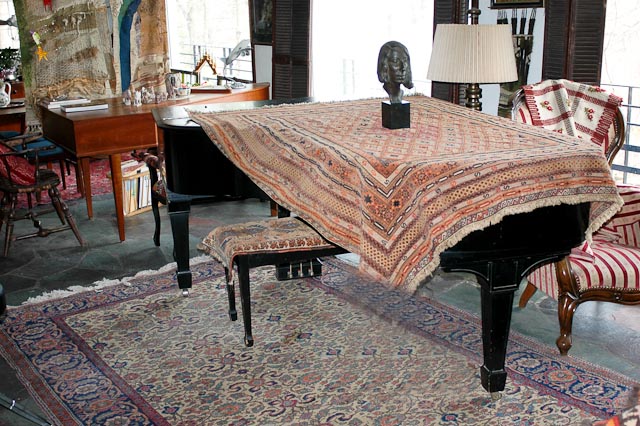
Eventually, the stable and perfected piano is released to the owner who then covers it with rugs and statues so the new soundboard and fine work cannot be observed and admired!